HTML Tutorial: HTML Forms

An HTML form is used to collect user input. Which is usually sent to a server for processing.

Form Element:
The <form> element is used to create an HTML form for user input.
Input Element:
The HTML <input> element is the most used form element
Text field:
The <input type ="text"> defines a single-line input field for text input.
<form>
  <label for ="fname">First name:</label><br>
  <input type ="text" id="fname" name="fname"><br>
  <label for ="lname">Last name: </label><br>/
  <input type = "text" id = "lname" name= "lname">
</form>
This will look like this:
First name:
Last name:
The Label Element:
The <label> tag serves to label many form elements. It is useful for screen-reader users because this will help them read out loud the label when the user focuses on the input element. It is also used by people with difficulty clicking on a small region.
Radio buttons:
The <input type = "radio"> defines the radio button.
<form>
  <input type ="radio" id = "male" name="gender" value="male">
  <label for ="male">Male</label>
  <br>
  <input type ="radio" id = "female" name="gender" value="female">
  <label for ="female">Female</label>
  <input type ="radio" id = "Other" name="gender" value="other">
  <label for ="other">Other</label>
</form>
This will look like this:
Male
Female
Other
Checkboxes
The <input type= "checkbox"> shows a checkbox. This gives users zero or more options to a limited amount of choice.
<form>
    <input type = "checkbox" id = "vehicle1" name ="vehicle1" value= "Bike">
      <label for = "vehicle1"> I have a bike</label>
        <br>
    <input type = "checkbox" id = "vehicle2" name ="vehicle2" value= "Car">
      <label for = "vehicle2"> I have a car</label>
</form>
This will look like this:
I have a bike
I have a car
The Submit button
The <input type="submit"> shows a button for submitting the form data to a form handler. The form handler is a file on a server with a script for processing input data.
<form action = "action_page.php">
  <label for ="fname">First name: </label><br>
  <input type ="text" id="fname" name="fname" value = "Emma"><br>
  <label for ="lname">Last name: </label><br>
  <input type ="text" id="lname" name="lname" value = "Smith"><br><br>
  <input type = "submit" value = "Submit">
</form>
This will look like this:
First name:
Last name:
The name attribute for the input tag
The name attribute is very important because if it's omitted the value in the input field will not be sent at all.
Create Stunning Websites and Web Apps
Building different custom components in React for your web apps or websites can get very stressful. That's why we decided to build contrast. We have put together a UI kit with over 10000+ components, 5 admin dashboards and 23 additional different pages template for building almost any type of web app or webpage into a single product called Contrast Pro. Try contrast pro!
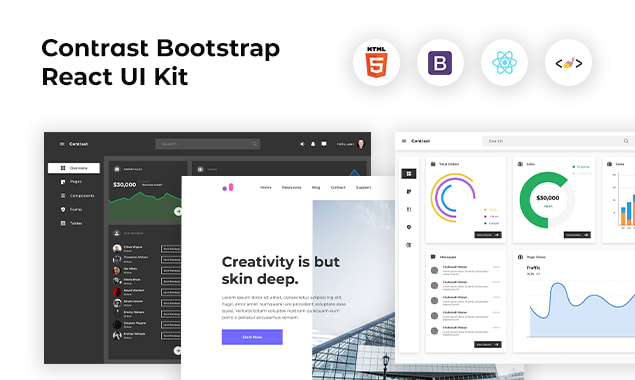
Contrast React Bootstrap PRO is a Multipurpose pro template, UI kit to build your next landing, admin, SAAS, a prelaunch, etc project with a clean, well-documented, well-crafted template and UI components. Learn more about Contrast Pro
RESOURCES
CSS Colors, Backgrounds, Borders, Margins and Padding
Differences Between Tailwind CSS and Bootstrap
Differences between Tailwind CSS and SASS
All you need to know about Html Elements
HTML File path, Charset and Meta
Including JavaScript in your HTML project.